
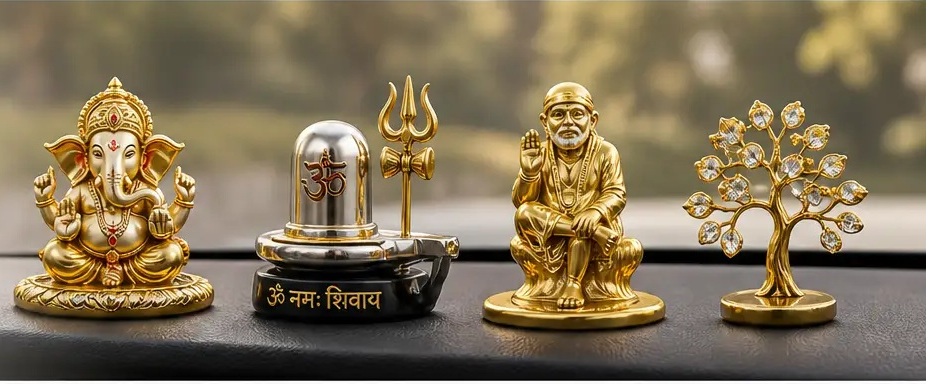
A dashboard figurine adds personality, elegance and a bit of positivity to your car's interior. But how you install it matters just as much as the figurine itself — a rushed or careless installation is the single biggest reason figurines fall off, scratch the dashboard, or become a distraction while driving.
This guide applies to any decorative dashboard figurine, mascot, toy or idol with a flat mounting base.
Why Proper Installation Matters
- Prevents the figurine from falling during braking or sharp turns
- Protects the dashboard surface from scratches
- Ensures long-lasting adhesion, even in heat
- Avoids distractions while driving
What You'll Need
- Dashboard figurine
- Automotive-grade double-sided tape
- Isopropyl alcohol (IPA)
- Microfiber cloth
- Hair dryer (optional, useful in cold weather)
Step-by-Step Installation
Step 1: Choose the Right Location
Pick a flat, stable, non-slip area on the dashboard that doesn't obstruct your view or interfere with airbags or vehicle controls.
Step 2: Clean the Surface Thoroughly
Wipe down with a microfiber cloth and isopropyl alcohol or a mild dashboard cleaner to remove dust, oil and wax. Let it dry completely.
A clean, dry surface is the single biggest factor in how long the adhesive holds.
Step 3: Check the Base and Adhesive
Make sure the base is clean, flat, and the double-sided tape is fresh and good quality.
Step 4: Position Before Peeling
Place the figurine on the dash without removing the adhesive liner yet. Check alignment and visibility from the driver's seat.
Step 5: Peel the Adhesive Carefully
Remove the liner without touching the adhesive surface — fingers reduce adhesive strength.
Step 6: Press Firmly
Place the figurine in its final position and press firmly for 30–60 seconds with even pressure across the base.
Step 7: Let It Cure
Avoid touching, moving or applying pressure for at least 24 hours. Don't wash the car or expose the area to water during this window.
Step 8: Enjoy a Secure Installation
Once cured, your figurine is ready to ride with you securely on every journey.
Common Mistakes to Avoid
- Installing on a dusty or polished surface
- Using low-quality adhesive that loses grip in heat
- Repositioning after it's already stuck
- Washing the car immediately after installation
- Placing it somewhere that blocks visibility or airbags
Pro Tips
- In cold weather, warm the adhesive slightly with a hair dryer for better bonding
- In extreme heat, press a little longer to fully activate the adhesive
- Inspect the figurine periodically and clean around the base for long-lasting hold
Frequently Asked Questions
Can I remove the figurine later? Yes. Gently warm the base with a hair dryer and carefully lift it, then use an adhesive remover to clean any residue.
Will the adhesive damage my dashboard? High-quality automotive tapes generally do not damage the dashboard if removed properly.
Can I reuse the adhesive? No. For best results, always use a new, high-quality adhesive.
What type of adhesive is best? Automotive-grade acrylic foam tapes are highly recommended for dashboard use.
Final thought: A small effort today ensures your dashboard figurine stays secure, looks beautiful, and brings positivity to every ride. Drive safe, drive happy.
Shop Laps of Luxury® Products
Available with fast delivery across India on Amazon.in.
Shop Dashboard Accessories on Amazon